A Timer Switch For Lights can make a hallway glow before you reach the stairs, or turn porch lights off after sunrise. The right model saves daily effort and helps avoid lights burning in empty rooms. Small detail. Big difference. But timers vary. Some plug into a wall outlet; others replace a standard in-wall switch. Smart models may add app control, while basic options keep scheduling simple.
This guide compares seven timer switches for different rooms, routines, and budgets. It considers setup, programming, bulb compatibility, manual controls, and whether each switch needs a neutral wire. That last detail matters. An older home may have wiring that limits your choices, so check the product instructions and consult a qualified electrician when needed. Ratings and features can change, too; verify current specifications before buying.
Lighting-controls educator Craig DiLouie is a useful expert reference for understanding how controls shape lighting use. Rather than present invented words as his direct quotation, here is the practical principle guiding this comparison: “Choose controls that fit the way people actually use a space.” A timer that is hard to program may go unused. One that matches your routine can make a quiet, reliable difference. This list weighs those everyday details, while recognizing that no single switch suits every home.
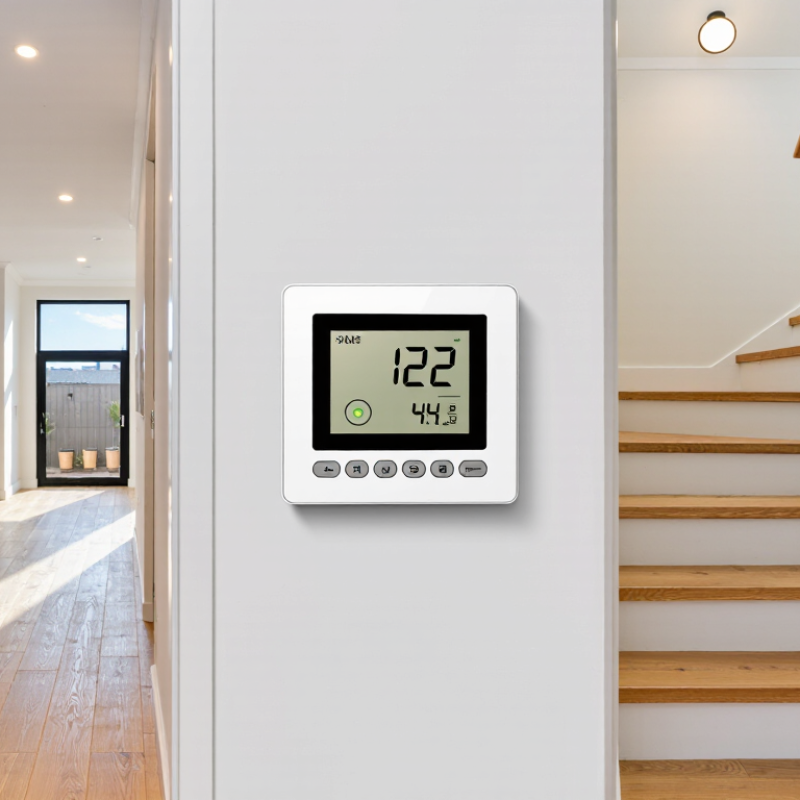
A timer switch controls a light by opening or closing its electrical circuit at a chosen time. The bulb goes dark. Basic models run a countdown, while programmable models follow a daily schedule. Some use local sunrise and sunset times, which helps when daylight shifts across seasons. Inside the wall box, the switch replaces or works alongside a standard light control; wiring and load compatibility matter. Check the fixture type and instructions before installation, and consult a qualified electrician if the wiring is unclear.
A timer does not make a bulb more efficient. It can reduce wasted runtime when lights are often left on in empty rooms. The U.S. Department of Energy’s Energy Saver guidance notes that lighting accounts for about 15% of a typical home’s electricity use. That figure describes lighting overall, not savings from timers. A hallway light set to switch off after ten minutes may save energy; a porch light needed all night may not. The schedule can also be imperfect: guests, pets, or changing routines may make a fixed setting inconvenient. Test the timing for several evenings, then adjust it to match real use.
Before comparing timer switches for lights, check the circuit and bulb type. Some switches need a neutral wire, while older wall boxes may not have one. Confirm the switch’s voltage and maximum load, too. LED bulbs use little power, but certain switches need a minimum load to work reliably. A mismatch can cause flickering or prevent the light from turning off fully.
Choose controls that suit your routine. A basic mechanical dial is easy to set, but it may offer only repeated daily schedules. Digital models can support different weekday and weekend times. Some also adjust to sunrise and sunset, which helps when daylight shifts through the year. Check for a manual override, clear display, and battery backup. I’d pay attention to the display: tiny buttons can make simple adjustments surprisingly frustrating. Outdoor lights need a switch and enclosure rated for the location. If wiring is unfamiliar, ask a qualified electrician to check compatibility and install it safely.
Tips: Write down the bulb type, total wattage, and desired on/off times before shopping. Compare those details with the switch’s specifications, not just its feature list. A simpler model may be the better fit.
The seven strongest timer-switch choices serve different routines: a mechanical 24-hour dial for simple daily schedules, a digital weekly timer for weekday variation, and an astronomical timer for automatic dusk-and-dawn switching. A countdown switch suits bathrooms or utility rooms; an in-wall programmable model replaces a standard switch; a plug-in timer serves lamps; and a connected timer allows schedule changes by app. Match the device to the load and location, not just its feature list.
Small detail. It matters.
A Lawrence Berkeley National Laboratory meta-analysis of commercial buildings reported average lighting-energy savings of 24% from occupancy sensors. That figure is useful context, not a performance guarantee for timer switches. A timer’s actual benefit depends on how often lights would otherwise stay on. Before buying, check LED compatibility, maximum load, neutral-wire requirements, manual override, and whether schedules survive a power outage. For a porch light, an astronomical model can follow seasonal sunset changes without monthly resets. For a hallway, countdown control may be more practical than a weekly schedule. Setup menus can be needlessly fussy, and a poorly chosen schedule may switch lights off while someone is still using the room. The report is “A Meta-Analysis of Energy Savings from Lighting Controls in Commercial Buildings,” by Lawrence Berkeley National Laboratory.
Mechanical plug-in timers are simple to set, but their pins can shift and schedules repeat daily. Digital plug-in models offer finer programming; tiny buttons and dim displays can frustrate setup. In-wall programmable switches look neat and control fixed lights, though installation may require wiring work. Check the circuit rating and wiring instructions.
Countdown switches turn lights off after a chosen interval. Handy, but they cannot follow a weekly schedule. Astronomical timers adjust to sunset and sunrise, yet daylight-saving changes or location settings can need attention. Photocell-and-timer combinations respond to darkness, though nearby porch lights may confuse the sensor. Smart timers add app control and remote schedules; Wi-Fi outages can limit convenience. More features, more setup.
The U.S. Department of Energy’s lighting-controls guidance reports that occupancy-based controls can reduce lighting energy use by 10% to 90%, depending on the application. That wide range matters: savings depend on room use and how long lights otherwise stay on. DOE also reports that LEDs use at least 75% less energy than incandescent lighting, so pairing a timer with efficient bulbs can reduce wasted runtime. Compatibility still matters; dimmable LEDs and older switches may not work smoothly together. A small test helps.
A light timer is only safe when its ratings match the circuit. Before installation, switch off the breaker and verify the wires are de-energized with a suitable tester. Follow the timer’s wiring diagram; wire colors alone are not proof of function. Check voltage, amperage, and bulb compatibility, especially with LEDs. For a three-way circuit, use a timer specifically rated for that setup. If the wiring is unfamiliar, stop and ask a qualified electrician.
The U.S. Department of Energy reports that residential LEDs use at least 75% less energy than incandescent bulbs and can last up to 25 times longer. A timer can help prevent lights from being left on, but savings depend on your schedule and the lamps installed. Set the clock, test the manual override, and check whether settings survive a power outage. One easy-to-miss detail: a timer made for indoor use may not be suitable for a damp location.
Tips: Photograph the existing connections before removal. Keep the breaker off until the switch is secured and its cover plate is fitted. Start with a short schedule, then check that the lights turn on and off at the intended times.
Typical time-setting increments vary by timer type. Finer increments allow more precise scheduling.
How to use this comparison: Mechanical dial timers commonly use 15-minute segments, while many digital programmable timers allow settings in 1-minute increments. Actual increments vary by model. Before installation, switch off the circuit breaker and verify the power is off. Check the timer’s voltage, load rating, wiring requirements, and compatibility with your lights; follow the manufacturer’s instructions.