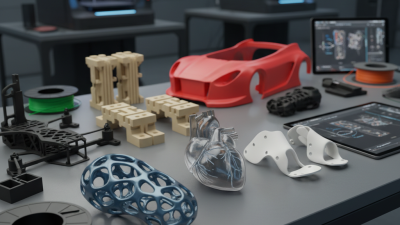
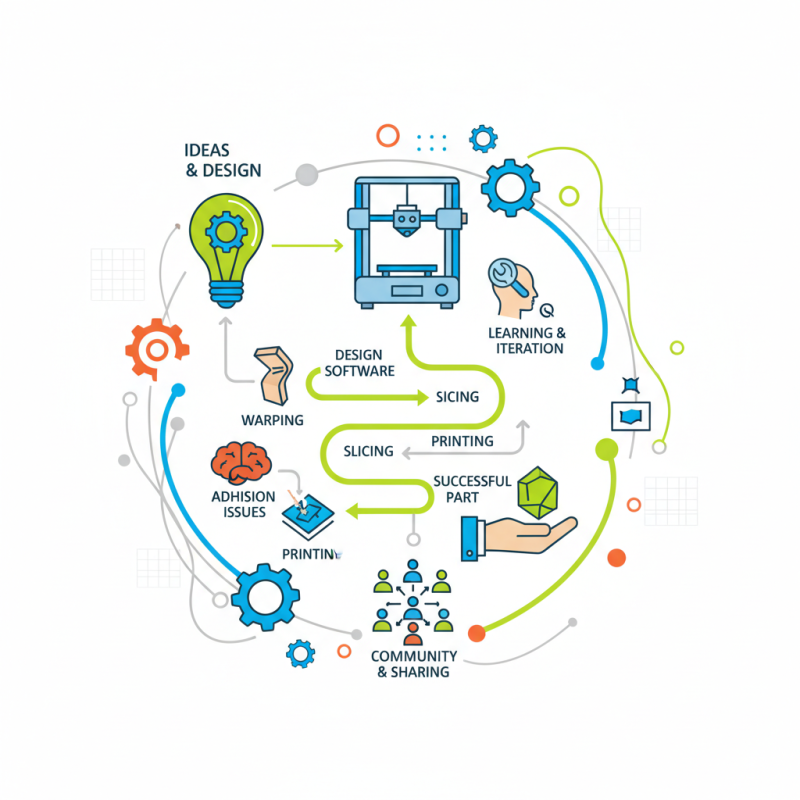
Creating 3D print parts for your projects can be a rewarding experience. With the right tools and techniques, you can turn your ideas into reality. 3D printing technology has evolved dramatically, making it accessible for hobbyists and professionals alike. This accessibility often leads to innovative designs and applications.
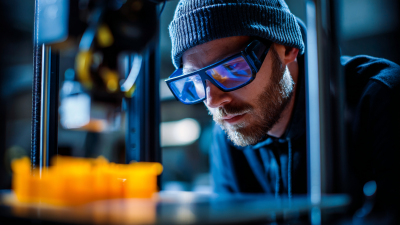
However, not every print results in perfection. You may encounter issues like warping or adhesion problems. Learning from these mistakes is crucial. Understanding the nuances of your 3D printer and materials will enhance your skills. It’s not only about having the right equipment but also about improving your design process.
As you embark on this journey, remember that practice is key. Experiment with various designs and settings. Share your experiences with the community. This will help you refine your craft. Embrace the challenges you face along the way, as they will lead to your growth as a maker.
When embarking on a 3D printing project, selecting the right design software is essential. There are numerous options available, each with unique features that cater to different skill levels and project types. Beginners often benefit from user-friendly interfaces. Consider software that offers tutorials and community support to ease your learning process. Intuitive tools can make a significant difference when you're starting out.
Intermediate and advanced users may seek software with robust capabilities. Look for options that allow precise control over complex designs. Advanced features can empower you to create intricate parts, but they come with a learning curve. Don’t rush through tutorials; take your time to understand advanced tools fully. This investment in learning can pay off in your project outcomes.
Understand that no software is perfect. You may encounter limitations or bugs that disrupt your workflow. It's vital to regularly back up your work to avoid unexpected losses. Engaging with feedback from the design community can help refine your skills. Each project can serve as a stepping stone, leading to greater expertise in 3D design. Stay curious and embrace the challenges that come with creating 3D print parts.
| Software Name | Type | Ease of Use | Features | Price |
|---|---|---|---|---|
| TinkerCAD | Online | Very Easy | Basic Shape Tools, Exporting STL | Free |
| Fusion 360 | Desktop | Moderate | Parametric Modeling, Simulation | Subscription |
| Blender | Desktop | Difficult | Sculpting, Animation, Rendering | Free |
| SolidWorks | Desktop | Moderate to Difficult | 3D CAD, Assembly Modeling | Premium |
| SketchUp | Online/Desktop | Easy | User-Friendly Interface, 3D Warehouse | Free/Paid Versions |
3D printing has revolutionized how we create parts for various projects. Understanding the technologies and materials available is crucial. Fused Deposition Modeling (FDM) is popular for home users. It uses thermoplastic filaments to build objects layer by layer. This process is accessible and cost-effective. However, the quality can vary based on the printer settings and filament used.
Stereolithography (SLA) offers a different approach. It uses a laser to cure liquid resin into solid parts. This method provides high precision and smooth finishes. It’s great for detailed models but can be more expensive. Users often face challenges with resin handling and post-processing. Take time to familiarize yourself with these nuances.
Tip: Always calibrate your printer before a new project. Calibration affects accuracy. Experiment with multiple materials. Not all filaments offer the same results. PLA is easy to print, while ABS requires higher temperatures. Understanding these characteristics helps in achieving better outcomes.
Preparing your 3D model for printing is crucial for achieving the desired outcome. A well-prepared model ensures a smoother printing process and better results. Start with assessing the design. Is it structurally sound? Look for weak points that may not withstand the printing process. Thin walls often lead to failure. Adjust the geometry if necessary.
Next, check the scale of your model. Print size matters. A model too large may fail due to printer limitations, while one that is too small might lose intricate details. Consider the layer height; finer details require smaller layers. However, this can increase print time. Finding the right balance is essential.
Don’t forget about support structures. Some designs need them to print correctly. However, adding supports can complicate post-processing. Reflect on your design's needs versus the cleanup time you are willing to invest. After all, each print teaches something new. Whether it’s a slight adjustment or a major redesign, learn from each attempt to improve future projects.
Setting up your 3D printer correctly is crucial for achieving high-quality prints. Begin by ensuring that the printer's bed is leveled. An uneven bed can lead to adhesion issues. Take the time to adjust the bed height before every important print. It might take a few tries to get it just right, but this step is worth the effort.
Temperature settings are equally important. Different materials require different extruder and bed temperatures. Start with the recommended settings for your material, but don’t hesitate to experiment. A slightly higher or lower temperature can change the print quality significantly. It’s a process of trial and error, so keep notes on what works best for each project.
Filament quality often plays a crucial role in the outcome. Using cheap filament might save money, but it can lead to clogs and inconsistent results. Invest in good-quality filament from reliable sources to minimize headaches. Don't be afraid to tweak your printing speed too. Slower speeds can improve detail but will take more time. Adjusting these settings is a constant learning journey, offering room for growth and improvement.
Finishing techniques play a vital role in enhancing 3D printed parts. According to a recent industry report, over 65% of professionals claim that post-processing significantly improves the appearance and functionality of their models. Techniques such as sanding, painting, and chemical smoothing can transform a rough print into a polished piece suitable for display or use.
Using sandpaper, you can carefully smooth out layers. Start with coarse grit and gradually move to finer grits. This process can be time-consuming but yields impressive results. An automotive finishing spray can add a professional touch. Just ensure proper ventilation.
Consider the material before choosing a finishing method. ABS plastics respond well to acetone smoothing, while PLA is better suited for sanding and painting. However, remember that not all techniques work perfectly. Trial and error may be needed to achieve desired results. Documenting your process can help refine your approach. Finding the right balance between aesthetics and functionality may require adjustments and re-evaluation of your methods.